Wednesday, June 30, 2010

Networking Switch + Fan

I found a 5-port Linksys networking switch in the garbage a long time ago. After testing it, I discovered the reason it was in the garbage is because it was half dead, only ports 1, 2, and 3 worked and it overheated BAD. I didn't have a reason to use it too much back then so it sat in storage for a few years.


After reorganizing my room about 2 months ago, I decided to use it for my entertainment center so I'd only have one networking wire running to it. I knew it overheated and I wanted to do something about it so it would be less likely to die on me, so I put a fan on it xD

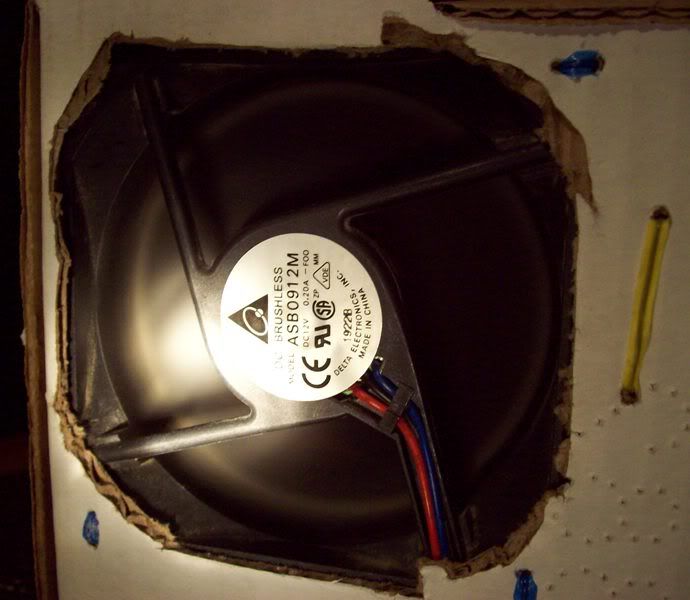
I started by looking for a fan that would be a good size to attach to the top, and I found an old 12V PC fan that was about 1.25 inch diameter. I thought about powering it next, the AC adapter for the switch only put out 7.5V so I wasn't sure about using it. I knew from a previous experience that 12V fans need to be push-started at 6V, and I didn't want to worry about push-starting the fan. I did a test by connecting the wires of the fan to the AC adapter and it worked fine without push-starting!

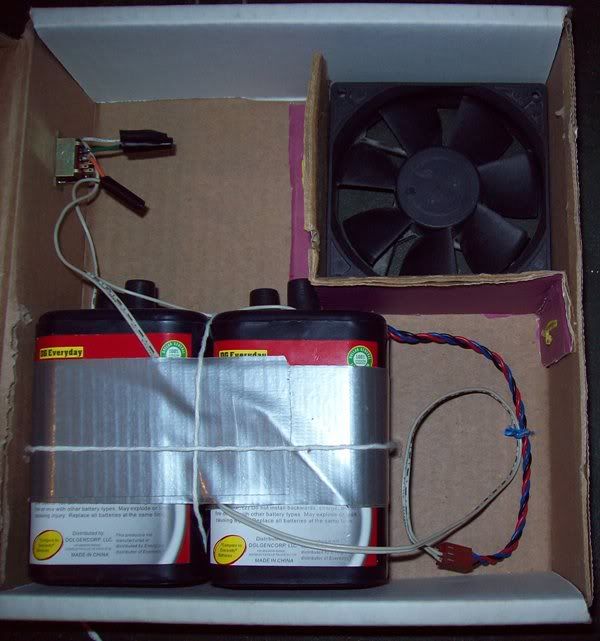
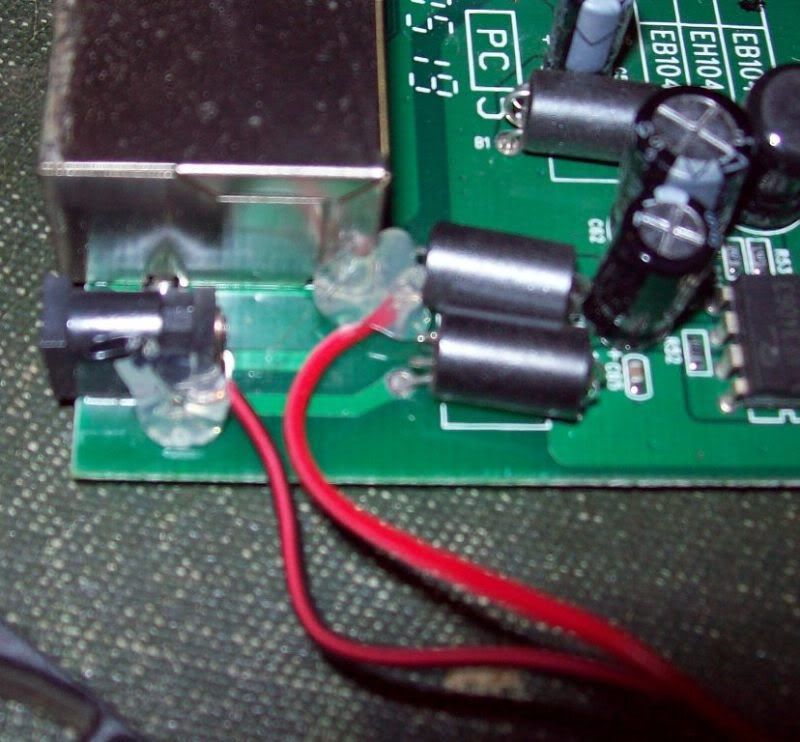
I decided to go ahead and power it from the same power supply by attaching the fan power to the power plug on the board of the switch, I wedged one wire between the plug and the strip that ran to the board, and wrapped the other wire around the start of a coil (since I couldn't wedge it like I did on the other one). I plugged it in for a test and everything worked fine, so I hot-glued everything in place and started on the case mod.


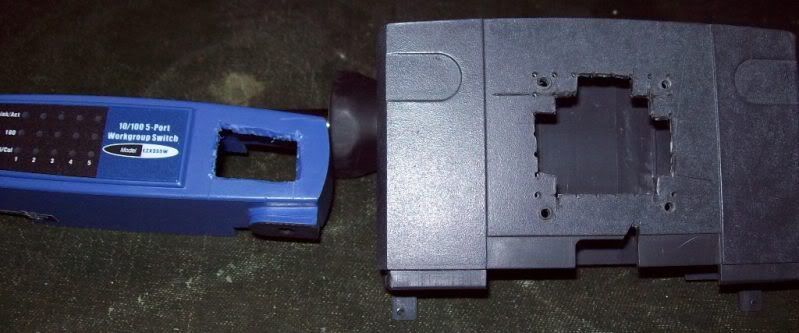
I needed a good sized hole in the top for the fan to pump air into, and I also needed a well-placed outlet hole to make the air go over the tiny heat-sink on the overheating chip. I made the holes by drilling small holes close together and then rocking my razor blade knife back and forth until it went thru. I also drilled some screw holes to hold the fan down and made a notch for the fan wires.


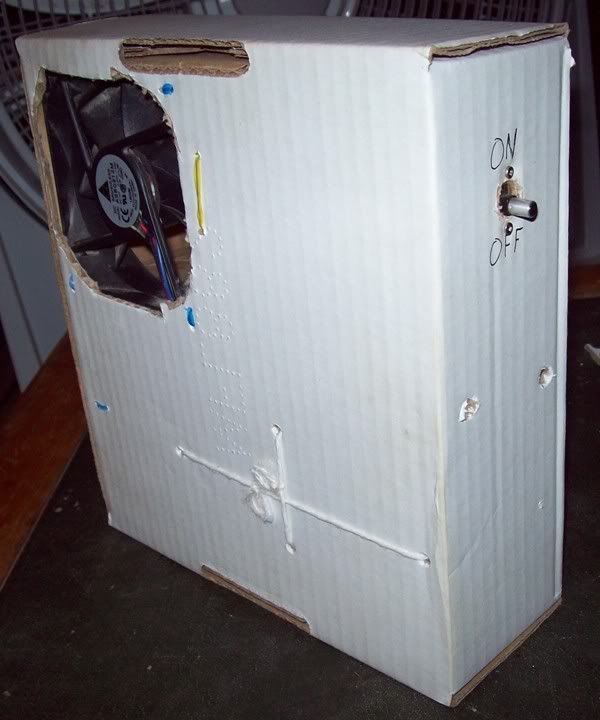
After putting everything back together, this is what I ended up with:


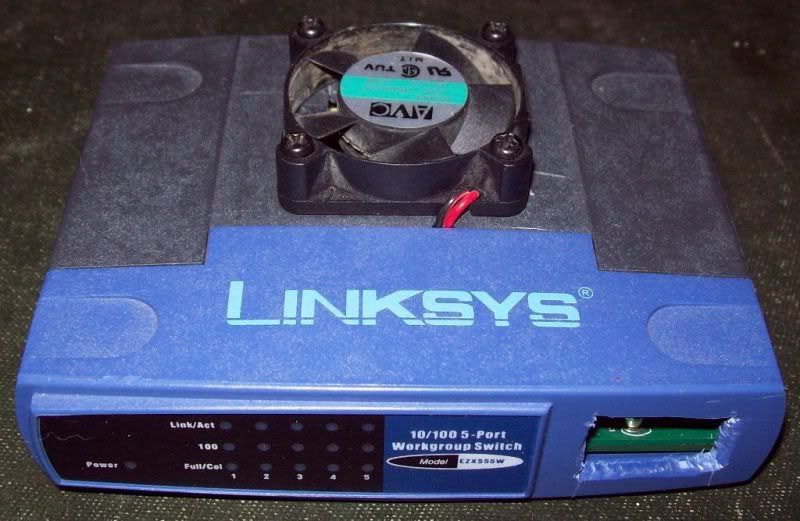
It runs perfectly with no overheating whatsoever! And I played Halo 3 over Xbox Live thru it no problem.


The fan does work, see :P

I have since retired it and started using a 8-port 3com switch my Dad brought home from work, they were throwing it out too, but there's nothing wrong with it xD I may need the Linksys again someday, but until then it will sit in storage waiting to be used as it did before it had a fan.

Monday, June 28, 2010

Necessity, The Mother Of Invention

It was a summer night about a year ago, the power was out and it was getting hot. We had battery-powered fans in the house somewhere, but we didn't remember where they were and didn't want to get hotter looking for them. That's when it hit me, I have tons of computer fans in a box, why not use one of those? I grabbed a good-sized one and my original Gameboy (the one that uses 4 AA batteries), I took the wires from the fan and stuck them between the main contacts (the ones that go to the board) and the batteries, and with a little push-start, the fan worked.

Granted it was only 6 volts of power to a 12 volt fan, but it sure felt good to have it. A few months later, I decided to make my own battery-powered fan just in case this ever happened again. I started with a 7x7x2 inch flip-top cardboard box, a ~3 inch diameter PC fan, and two 6 volt batteries.

The first time I built it, it was switched on by touching two wires together and the box had about five square holes cut into it for ventilation, and everything was held together by duct tape, cotton string, and bread ties (the wire ones). Since then, it's gone thru 4 revisions to improve air flow and safety.

The first revision I did was a very simple one, I added a spring to keep the wires together. Next revision I added ducting and trimmed the box around the fan to improve airflow, and it REALLY made a difference (think low to medium speed on a normal fan). Then came a 3-way toggle switch for the power. Finally, I swapped out the toggle for a standard 2-way switch about 2 or 3 months ago.

That's enough of all that explaining, it's time for pictures!:

Here it is in it's current form


All the insides, easily visible when open

Yes, it does run xD

This project was fun for me and functional too, I never have to worry about getting too hot during power outages in summer :P

Sunday, June 27, 2010

My Custom GBASP

The first project I'm going to post is one I did earlier today, a part-swapped Gameboy Advance SP.

What is a "part-swapped" mod?
It's a mod where you have two or more of the same thing but in different colors, you take them apart, mix the outside parts up, and put them back together to make better/cooler looking ones.

I've had a plain blue GBASP (AGS-001) in my collection for at least 4 years, and I just recently received a limited edition Toys R Us Pikachu GBASP (AGS-101) from a friend. The problem is, the Pikachu SP is missing a screen, the face on the top is faded away, and it didn't come with a battery.

I could have let it collect dust while I hoped to come across another AGS-101 with a bad board to steal the screen from, but I decided to use the outer bits and pieces to make my blue one look cooler :)

I replaced the inside (when you flip it open), the battery cover, and the L/R buttons of my blue SP with parts from my Pikachu SP to create a cool blue/yellow SP, it reminds me of the first Pokemon Gameboy Color, this one to be exact:

It's blue on the back

But anyway, this is my result:


Cool? I think so. It's better than a plain blue SP and an unusable Pikachu SP, that's for sure ;)

OMG I made a blog?!?

Yep, I decided to make a blog. I didn't think I ever would want to, but I was wrong. I figure I might as well share some of the fun/cool/functional things I do so other people might be able to do the same, and my PSP guide release website wasn't functional enough to adapt so here I am :P