Tuesday, July 5, 2011

Dualshock3 + PSP Batt. = Win

I had finally got my hands on a decent PS3 controller a few weeks ago, a standard black Dualshock3. But like most of the stuff I post here about, it had a problem... It refused to charge the battery. I had changed the battery twice, the first was a brand new one from DealExtreme, but it still didn't charge. The second was a known working one from my crappy Sixaxis, the DS3 worked fine until the battery died, and the thing still wouldn't charge >_>

Well, I decided it had to be the board since that was the one constant thing that never changed during my tests, so I checked it out. The part of the board under the battery plug had some kind of black goo all over it, and since it was so close to the battery plug I'm guessing it was the charging circuit... I cleaned it up as best I could and hoped for the best, and it did charge after I reassembled it :D

I tried to get on my PS3 last night using said controller, and the battery was dead. I didn't think it was a big deal, so I turned the PS3 on manually and hooked up the USB and let it sit for a while (I can't use wired PS3 controllers in my setup). I came back to it after 10 minutes and unplugged the USB... nothing. It once again refused to charge ~_~ I disassembled it and set it aside for tomorrow.

The next day (today), I did a few tests to see if I could bring it back, but I couldn't. So I set about my last resort option. I had a few PSP Slim batteries laying around doing nothing, and a standalone PSP battery charger. The voltage was close enough (DS3 batt=3.7v, PSP batt=3.6v) so I decided to mod the DS3 to use a PSP Slim battery.

The plan was simple enough, attach wires to the battery port on the DS3 board and route them thru the place the USB port was, then attach the battery to the underside of the DS3 using sticky tack. And I did just that.

The wires are attached to the back of the battery port


After attaching the wires, I tried it out and it worked fine :D I reassembled it and sticky tacked the battery to the controller, and here's what I got:


See? It works! :D


This mod does have some restrictions. I can't use the controller while charging the battery since I have to take the battery off to charge it, and the USB can't really be used while the PSP battery is connected (the wires are blocking it, and I wouldn't want it to magically start charging and damage something). But the first one doesn't bother me since I have 2 spare 1200mAh batts, and the second one doesn't matter as long as the DS3 stays paired with my PS3 :P I also should get more playtime with this battery as it's 2x the capacity of a standard Sixaxis battery :D

Thursday, June 30, 2011

Hand-Wiring a 32x to a Genesis1

First of all, it's been a while. I haven't made a blog post in 5 months O_O. It's not that I quit, I just haven't done anything blog-worthy as of late. I originally wasn't going to post this one either since it's pretty simple to do, but I figured 5 months of silence was long enough ;).

Now, on to the post. I recently got my hands on a "High Definition Graphics" model 1 Genesis, these are better than the normal model 1 and model 2 as they have better sound quality. But I had a problem, I wanted a 32x attached to it if I was going to use it as my main Genesis, but I didn't have the cable that converts the 32x A/V patch cable to work with the Genny1. I checked eBay, and the official ones are EXPENSIVE, like $25 expensive, for a small ~3 inch converter cable...

I wasn't about to pay $25 for a little converter cable, so I started researching. I found a tut on making your own cable, but I wasn't about to buy something just to hack it up. But they did have a few pinout pics that were useful.

By connecting red, blue, green, and sync from Genny1 to 32x using my solid wires, I was able to get it working. The wires I used were just wide enough to act as pins on the 32x, but I had to bend the Genny1 end over twice to fit good enough.

After this, I tested it out and it worked beautifully... except sound ~_~. I tried to connect sound in the same way I did the others, by wiring mono audio from the Genny1 to left audio on 32x, but it didn't work. I also tried wiring it to right audio on 32x, but it still wouldn't work (now that I notice it, I should have tried the mono audio in on the 32x, but I didn't see it when working on it :P). This was a problem since I only had a RF adapter for my Genesisss (Genesies? Genesi? >_>). The only other way I could think to get audio is to use the headphone port on the front of the Genny1, but I didn't have a good way of wiring that audio to work with my RF video.

My solution? Why, wiring a composite video out on the 32x of course xD. After I got the video working, I used a bunch of adapters I had lying around to go from 3.5mm headphone audio to 2x RCA audio and connected it to my A/V switchbox. Composite video is nice :P.

The finished product.


You'd never know all those wires were there :D

Friday, January 14, 2011

Lynx Mobo Swap

Most people have never heard of an Atari Lynx, it's an awesome gaming handheld from the original GameBoy era with some cool games. While the GameBoy was all black and green and impossible to see in a dark area, the Lynx had a nice backlit color screen.

I got my first Lynx a few years ago at a yard sale and loved it, but one day I came home and the screen was shattered, I never did find out how it happened. It sat on a shelf for 2-3 years.

A good friend of mine took me game shopping a little before Christmas, we went about 2-3 hrs away and visited a fellow collector, and we also went to a few retro game shops as well. At the last shop we went to, there it was, another Lynx :D My friend helped me buy it (they wanted $30, but I only had $15 left :P) and I was HAPPY!

Well, I decided to play my new Lynx today, went to turn it on, and nothing happened. I was like "WTF? Well maybe the batts are dead."(The Lynx eats thru batts like crazy) So I changed the batts, same thing. Unplugged the game and plugged it back in, nothing. Tried a different game, nothing. (The Lynx doesn't turn on without a game in it) So I was like "WTF!? I just got this a few weeks ago!"

Since I still had the Lynx with a broken screen in my game system graveyard, I decided to do a mobo swap.


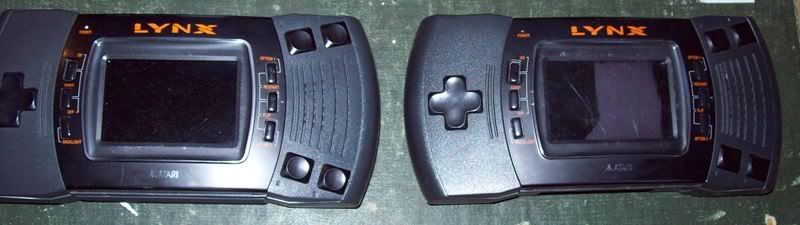
My two Lynxes


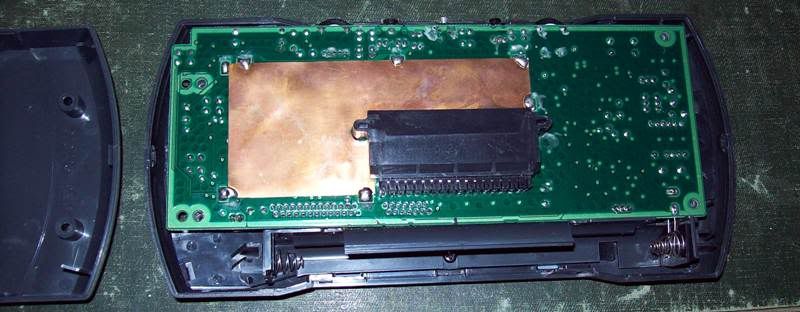
I started by disassembling the one with the bad screen, the screws are hidden under the rubber grips


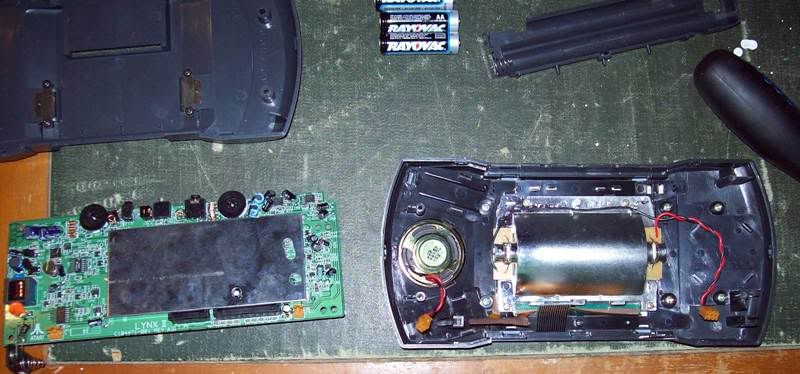
I removed the good board for transplant


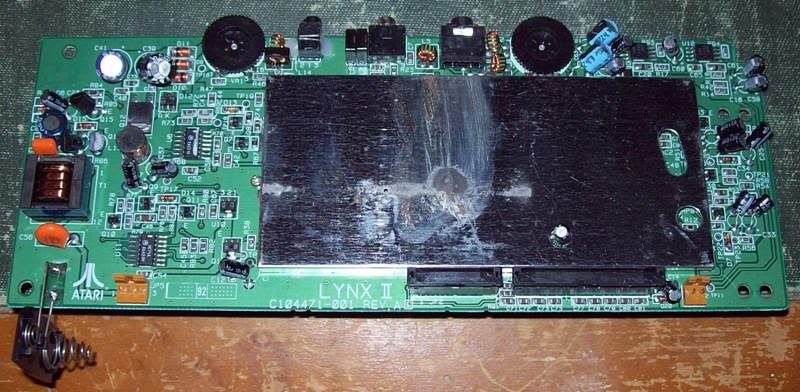
I then disassembled the other Lynx. I noticed that the shielding had some kind of burn mark on it O_O


Do you see it?


After putting the good board in the good screen Lynx, I re-assembled it and checked it out.


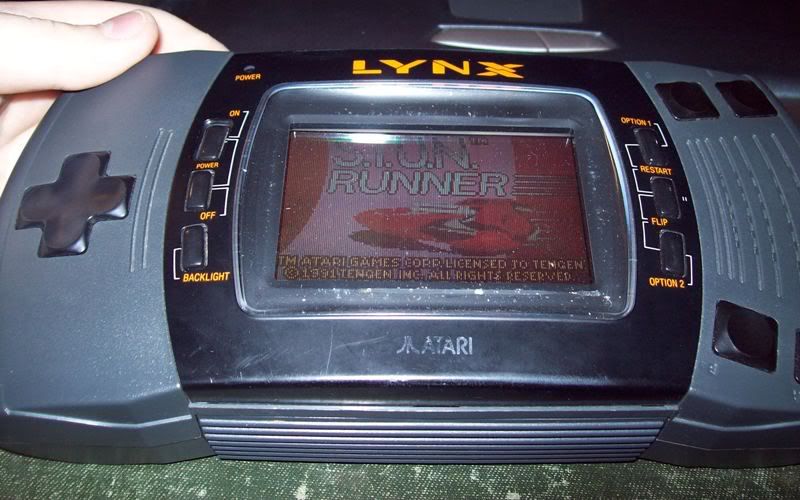
It Lives!! xD


After I tested the working one, I re-assembled the broken one for storage. I threw the batteries in it, put a game in, and tried to turn it on for the lulz... It actually came on O_O I did a mobo transplant for nothing. What was actually wrong with the good screen one? I never found out...

Friday, October 1, 2010

I'm Not Dead Yet!

Yes, it's true. I am still alive, although I've been VERY busy lately :P I haven't forgotten about BGTP, AUGTP, my release site, or my blog, I've just been too busy to update them lately xD I will continue to update stuff when it's needed and I have time, until then, this small paragraph will have to do ya ;)

Tuesday, August 17, 2010

Xbox Controller Ports for PC

When I got my first Xbox 1 I also picked up an extra controller breakaway piece, knowing I could use it to make adapters for Xbox>USB. Out of that breakaway cable and a USB extention I was able to make a Xbox cont. to USB adapter, and a USB to Xbox port adapter. That was a long time ago, and both adapters have developed shorts over the years, and both have been rewired.

I decided about a week ago that it's time for a new adapter, and not just one for breakaway-compatible controllers, one for ALL Xbox 1 controllers :D

I've had a busted Xbox in my "for parts" graveyard for a month now (bad power supply), so I pulled these out of it:

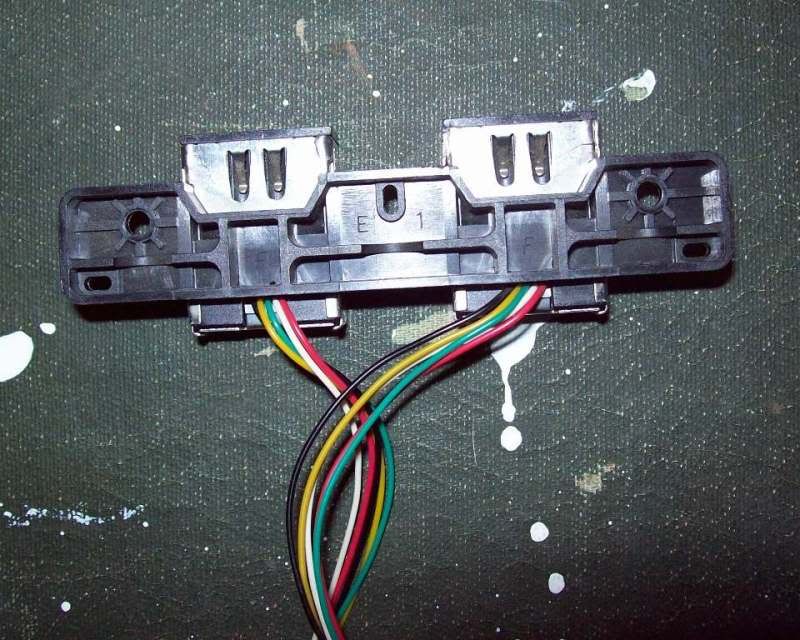
This is controller ports 3 and 4 out of an Xbox 1

Perfect, nice access to wires, works w/ all Xbox controllers since it came out of an Xbox, time to make an adapter out of it :P

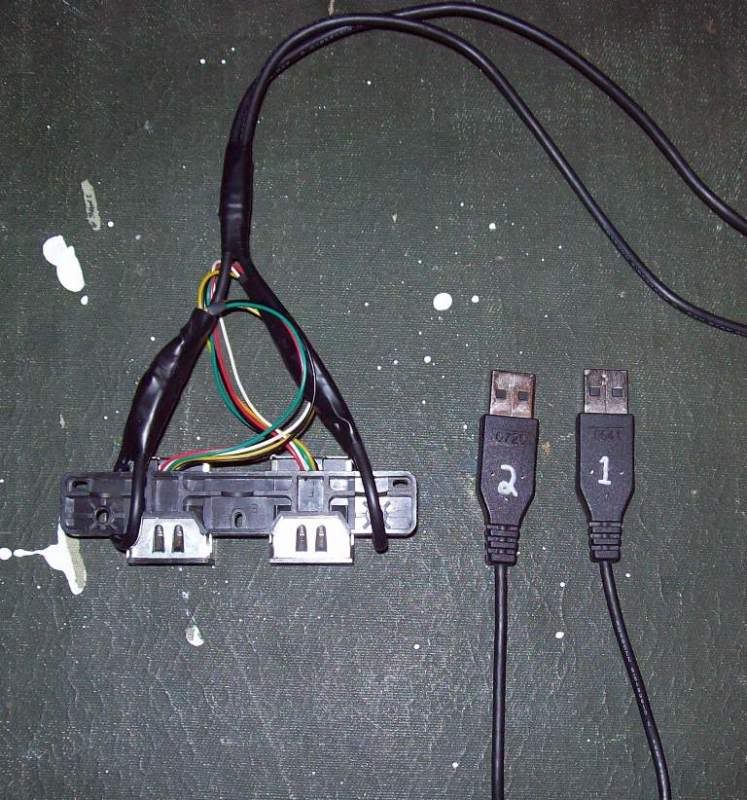
My friend had given me 2 USB charge cables for a Sandisk Sansa MP3 player (he was going to throw them out :O), I hacked off the ends and had 2 perfect USB cables for my adapter (I needed 2 cables, there are 2 ports after all ;) ). I wired them up (after some trial and error, I left the original metal ends on the ports wires) and tested it out, it worked great!

The finished product


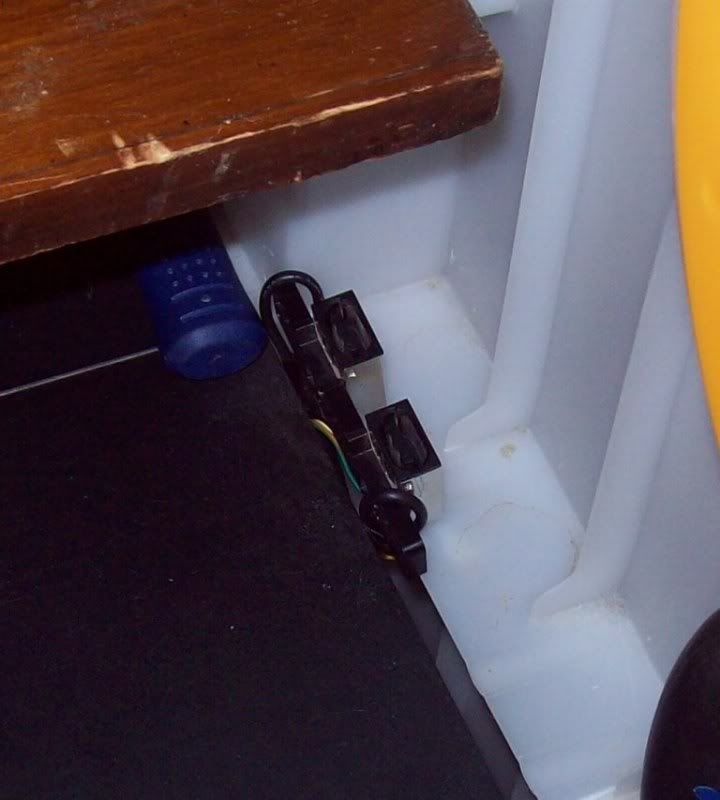
I wired it up to the back of my PC and wedged it in a crack of my PC desk, all I have to do is plug in a Xbox controller and go :D

Monday, August 2, 2010

A Gamer Frame

I get free stuff sometimes, most of the time something is wrong with the free stuff (which is why it was free xD). I'm usually able to fix the broken stuff, but sometimes something comes along that isn't worth the effort or is unfixable. Most people would throw things like this away, but me being the pack rat I am, I just can't throw some things away, I use them in different ways ;)

I recently recieved a DMG Gameboy (you know, the big grey brick), it was down right nasty, junk all on it and in it. I opened it up to start the cleaning procedure, and the board looked like it had acid dripped on it, the board was peeling and stained. I decided right then that this is a parts system and threw the boards out.

After getting all of the gunk out of the case, I started to wonder what could I do with a Gameboy that had no innards? Well, there's a window where the screen went, how about a frame?

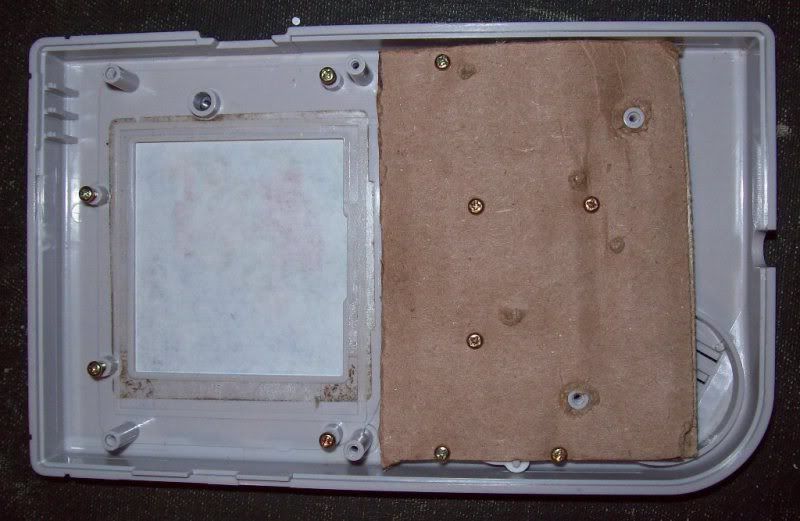
I wanted the buttons to look like the board was still there, but since the board wasn't there, the buttons would just fall out. My solution was to cut some cardboard to fit and screw it down just like it was the board:


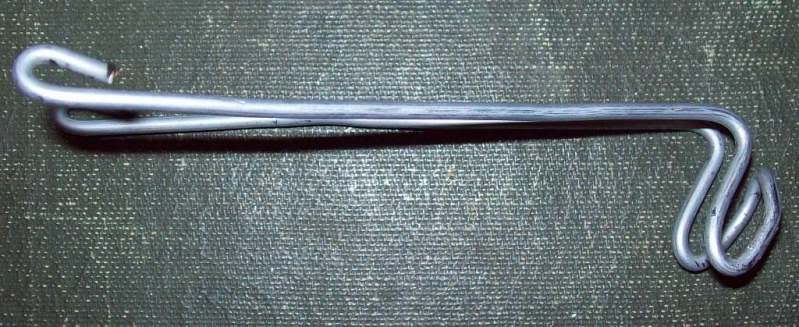
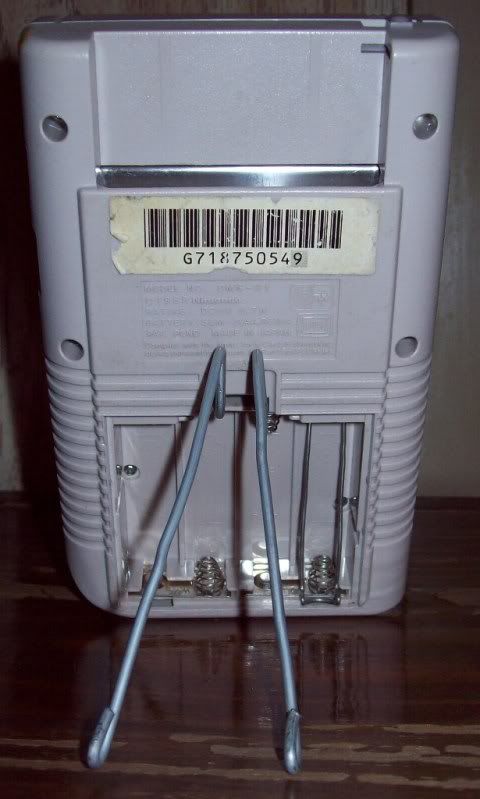
After getting it back together, I noticed it wasn't very stable on it's own, so I made a kickstand. It's designed to snap in where the battery door normally snaps in:


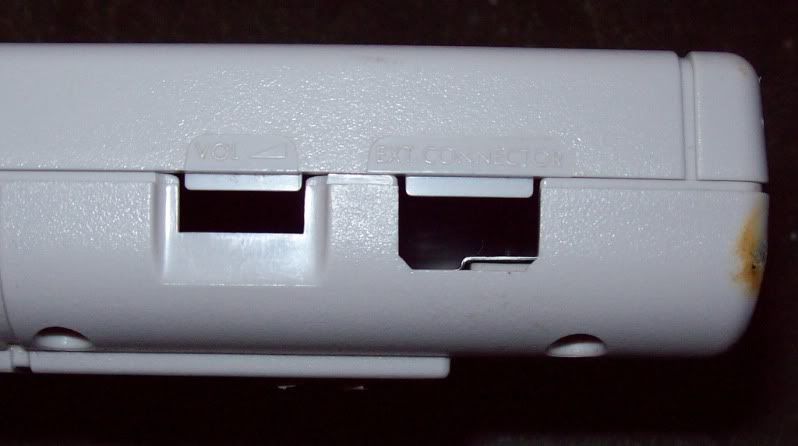
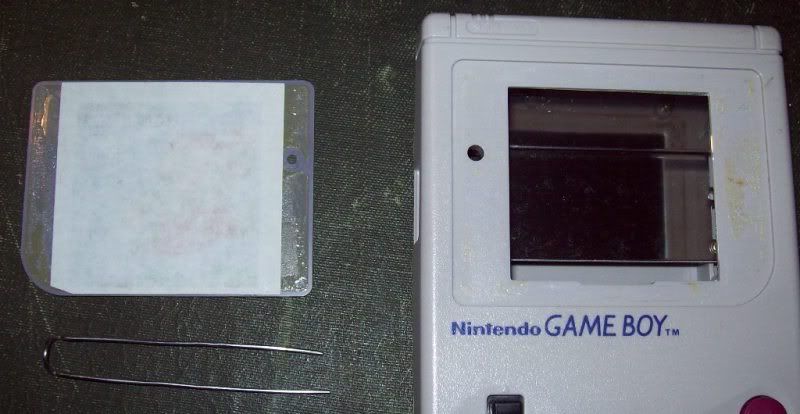
In the picture above, you can also see the picture replacing tool hidden where a battery goes (it's actually a failed attempt at a kickstand, but it works). The picture is sandwiched between the screen guard and casing using 2-sided roll-on tape, to change it, the screen guard has to be removed, below is the easiest way to do it:

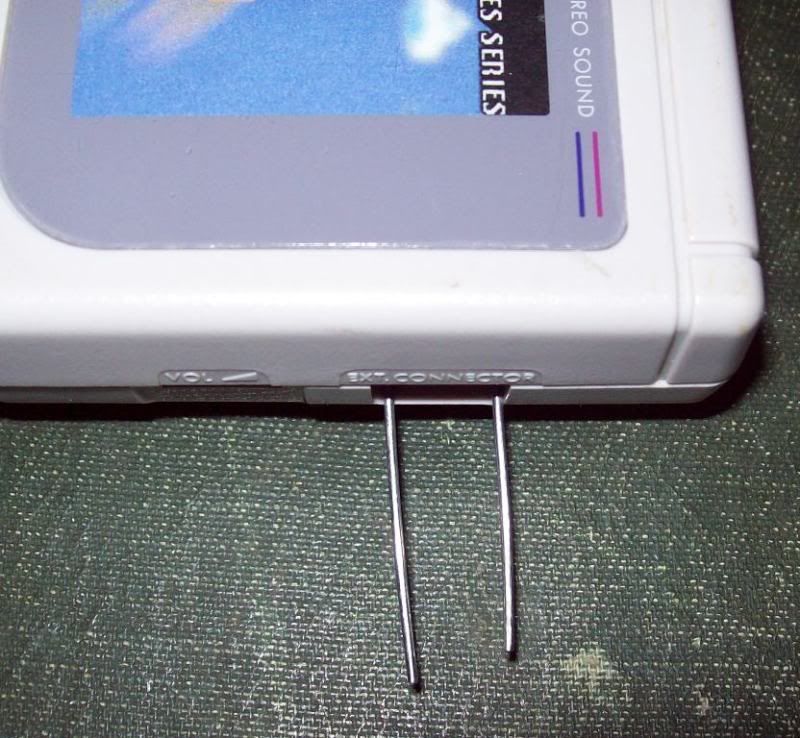
^This is the EXT. Connector hole^


Take something like a bent paper clip and insert it until you can touch the back of the picture


And apply pressure, the guard and picture should pop right out xD


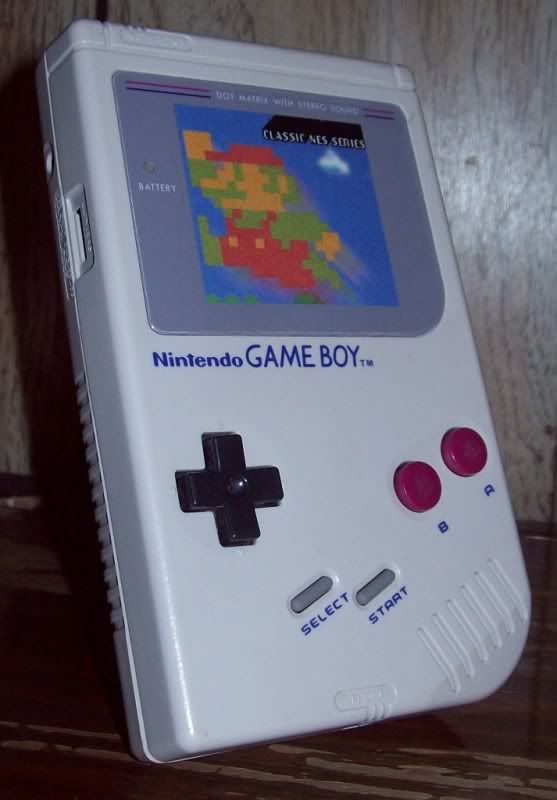
After everything, this is what I ended up with:


It was a simple thing to do, but I got nice results from it :)

Sunday, July 11, 2010

Things To Keep Around

There are a few things that everybody should keep in their repair kits that don't seem to go in one, but I've found these things to be useful multiple times.

1: Twisty Ties
You may know them as bread ties or garbage ties, those little wires covered in plastic or paper that can be used to tie things up with just a twist. I've mostly used these to keep cables nice and tidy. I've also used them in computer repair to keep things in place, mostly fans, but I have used them to successfully mount a hard drive when there wasn't any screw holes :P

2: A Needle
Yes, a needle, like the ones used for sewing. I use these in my cleaning process for gaming equipment to easily get the dirt out of the cracks without taking something apart. They also come in handy when you need to realign a pin in a tight space.

3: Daily Pill Box
You know, the ones with SMTWTFS on them. They are great for holding screws, and keeping them separate for each stage of disassembly.

These things will make a good repair kit great, trust me :)